Thanks to KyleTheCreator for this amazing project.
/*
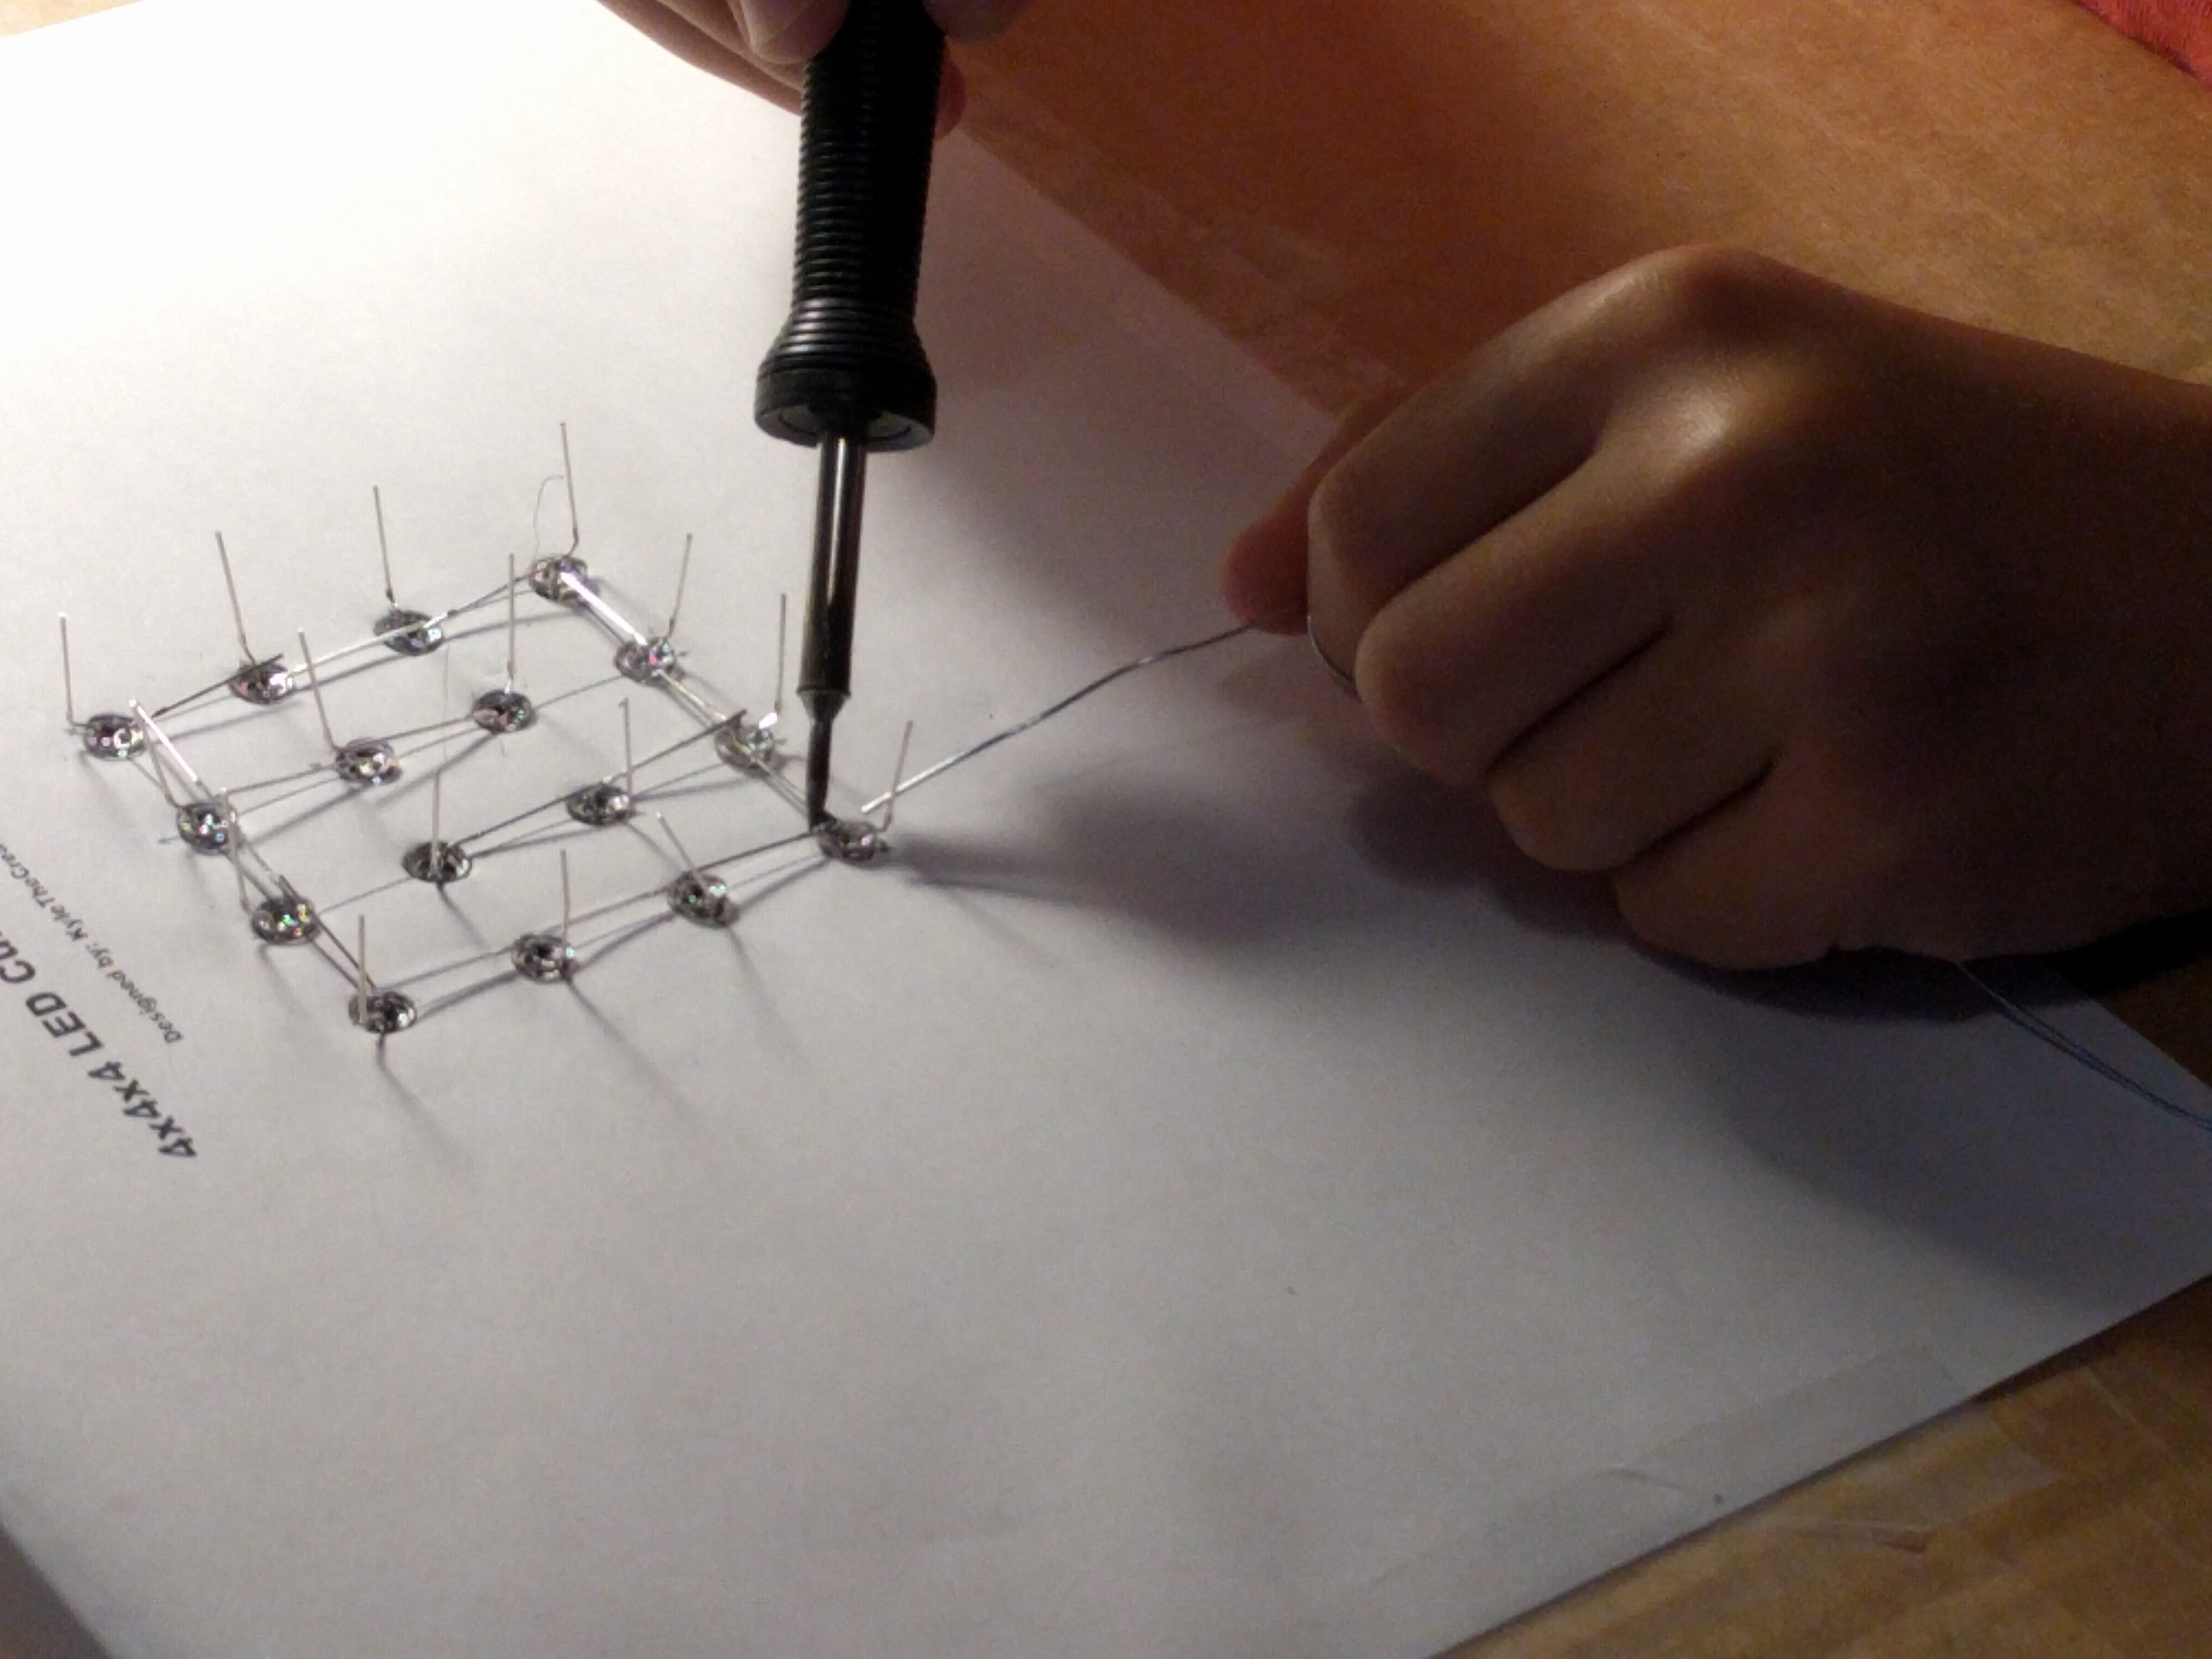
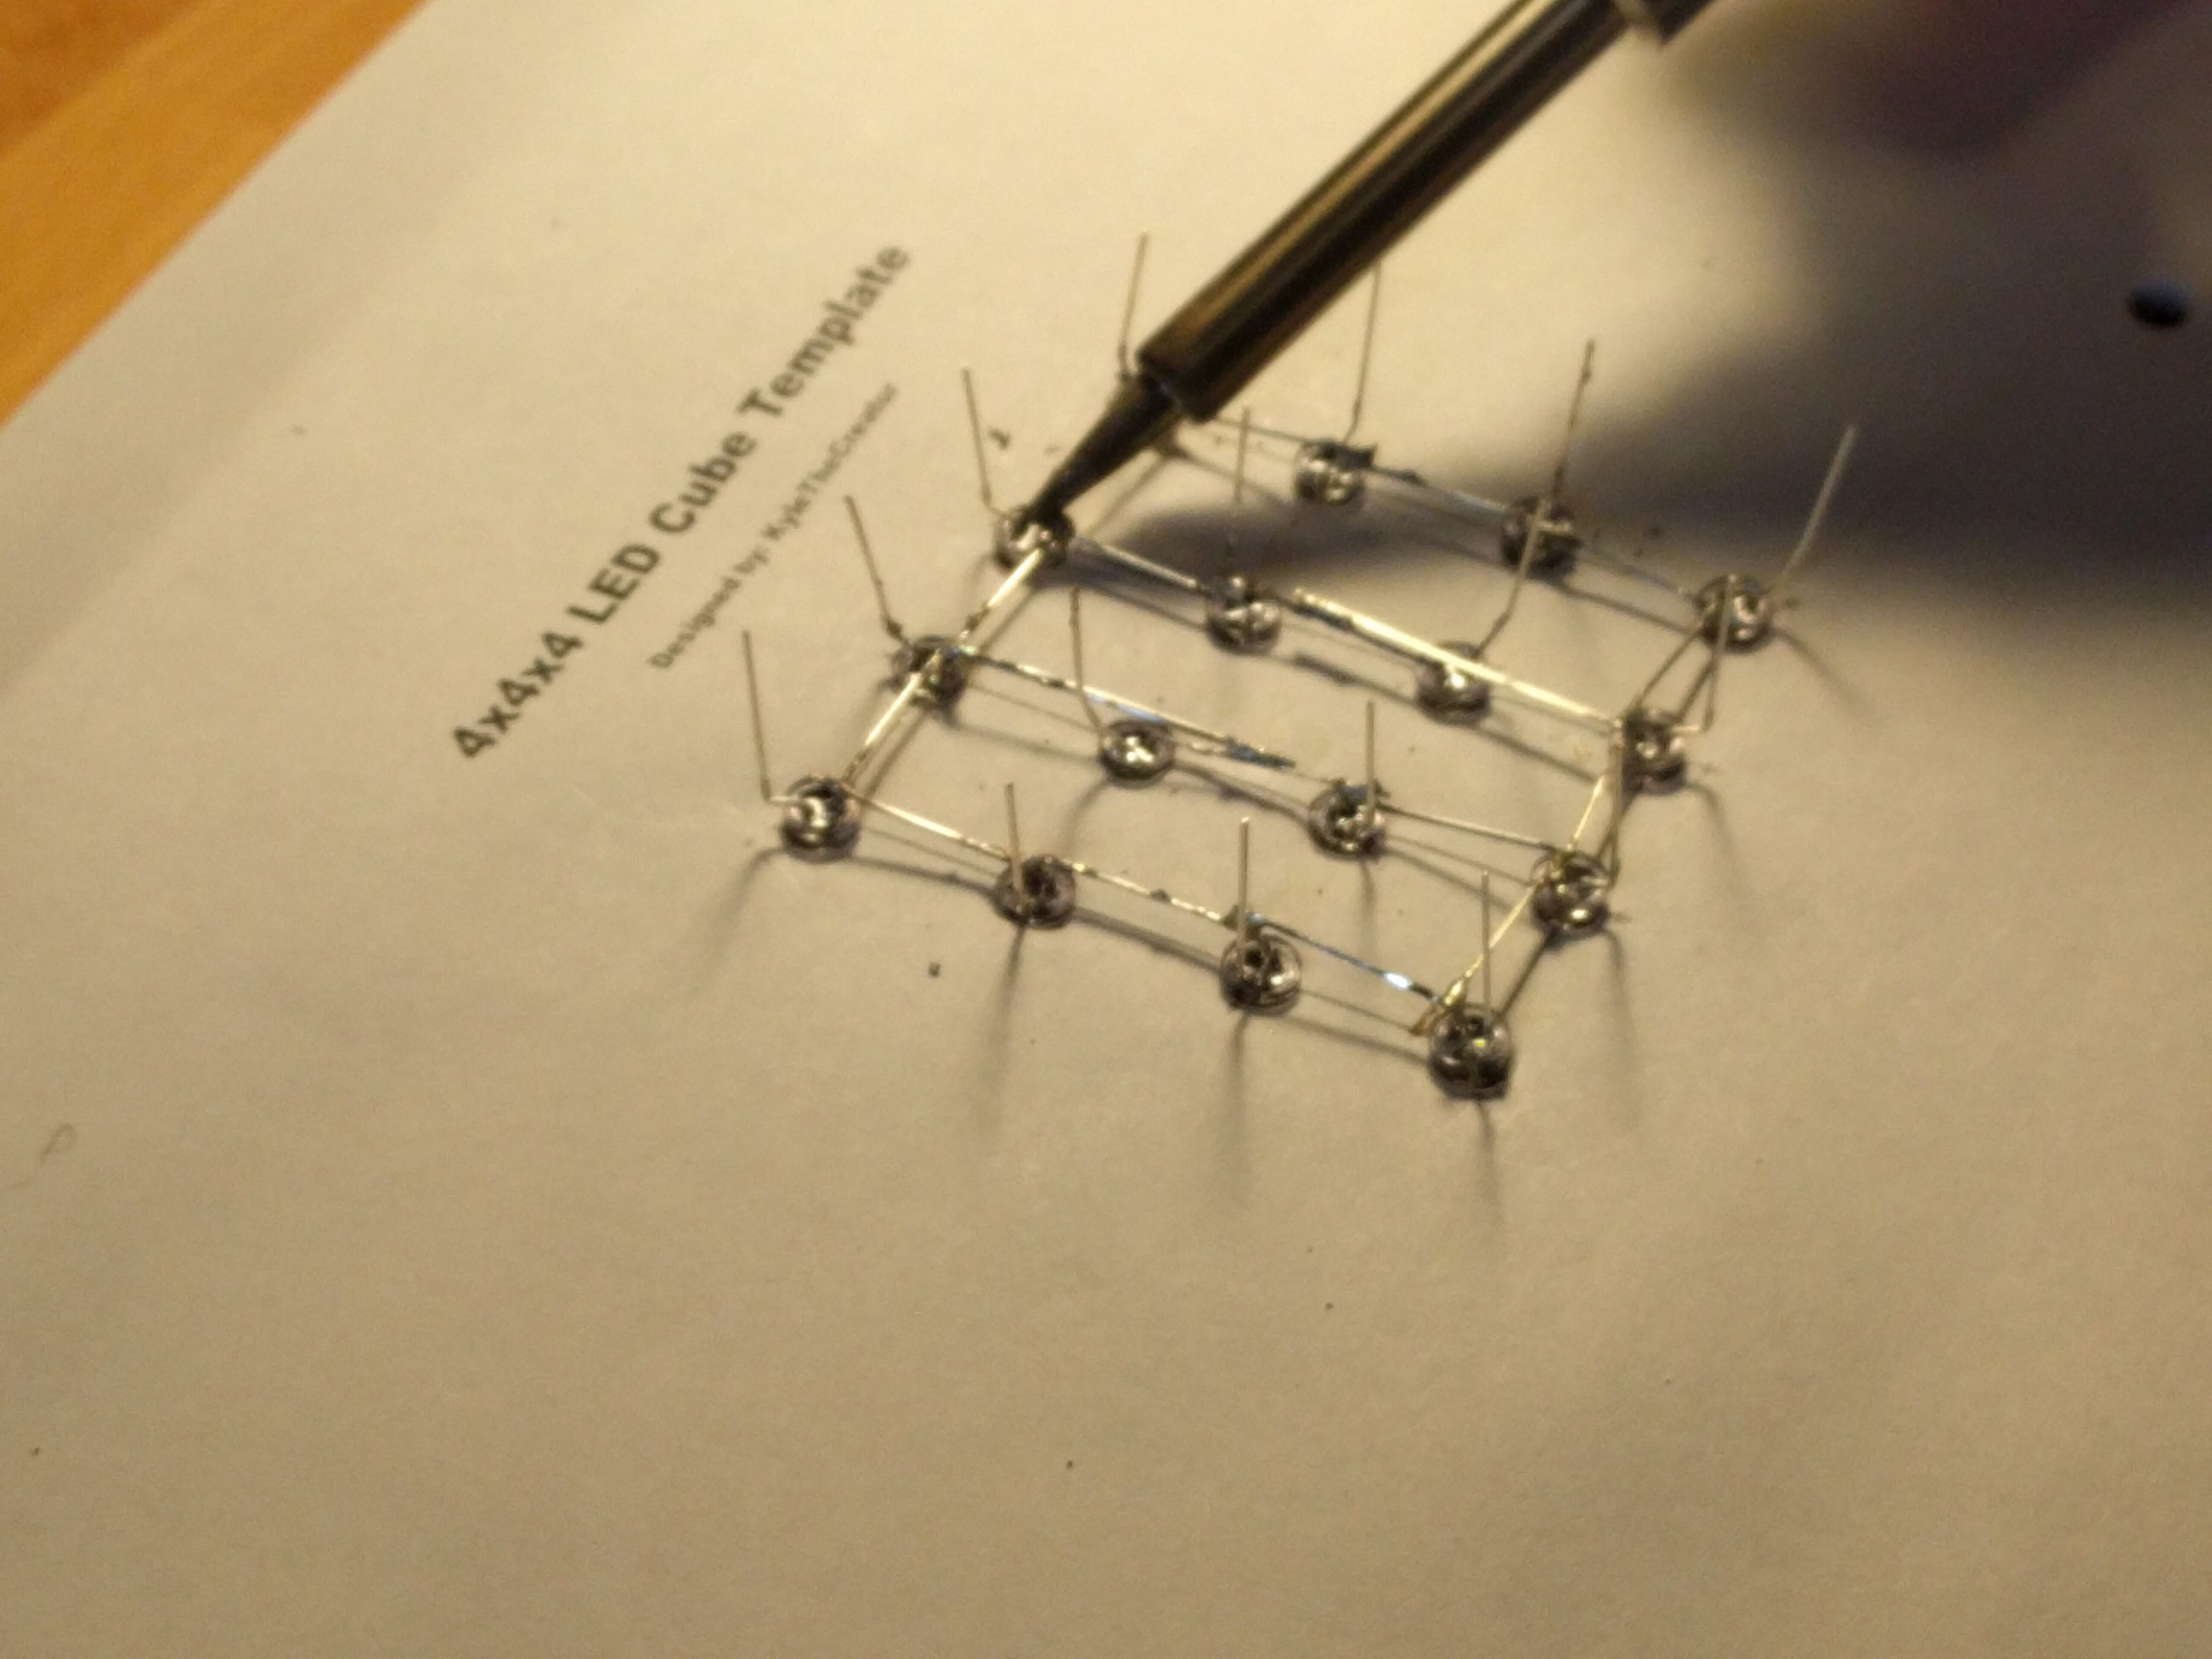
4x4x4 LED Cube
Connection Setup:
Columns
[(x,y)-Pin]
(1,1)-13
(1,2)-12
(1,3)-11
(1,4)-10
(2,1)-9
(2,2)-8
(2,3)-7
(2,4)-6
(3,1)-5
(3-2)-4
(3-3)-3
(3,4)-2
(4,1)-1
(4,2)-0
(4,3)-A5
(4,4)-A4
Layers
[layer-Pin]
a-A0
b-A1
c-A2
d-A3
*/
//initializing and declaring led rows
int column[16]={13,12,11,10,9,8,7,6,5,4,3,2,1,0,A5,A4};
//initializing and declaring led layers
int layer[4]={A3,A2,A1,A0};
int time = 250;
void setup()
{
//setting rows to ouput
for(int i = 0; i<16; i++)
{
pinMode(column[i], OUTPUT);
}
//setting layers to output
for(int i = 0; i<4; i++)
{
pinMode(layer[i], OUTPUT);
}
//seeding random for random pattern
randomSeed(analogRead(10));
}
//xxxxxxxxxxxxxxxxxxxxFUNCTION LOOPxxxxxxxxxxxxxxxxxxxxxxxxxxxxxxxxxxxx
//xxxxxxxxxxxxxxxxxxxxxxxxxxxxxxxxxxxxxxxxxxxxxxxxxxxxxxxxxxxxxxxxxxxxx
void loop()
{
turnEverythingOff();//turn all off
flickerOn();
turnEverythingOn();//turn all on
delay(time);
turnOnAndOffAllByLayerUpAndDownNotTimed();
layerstompUpAndDown();
turnOnAndOffAllByColumnSideways();
delay(time);
aroundEdgeDown();
turnEverythingOff();
randomflicker();
randomRain();
diagonalRectangle();
goThroughAllLedsOneAtATime();
propeller();
spiralInAndOut();
flickerOff();
turnEverythingOff();
delay(2000);
}
//xxxxxxxxxxxxxxxxxxxxFUNCTIONSxxxxxxxxxxxxxxxxxxxxxxxxxxxxxxxxxxxxxxxx
//xxxxxxxxxxxxxxxxxxxxxxxxxxxxxxxxxxxxxxxxxxxxxxxxxxxxxxxxxxxxxxxxxxxxx
///////////////////////////////////////////////////////////turn all off
void turnEverythingOff()
{
for(int i = 0; i<16; i++)
{
digitalWrite(column[i], 1);
}
for(int i = 0; i<4; i++)
{
digitalWrite(layer[i], 0);
}
}
////////////////////////////////////////////////////////////turn all on
void turnEverythingOn()
{
for(int i = 0; i<16; i++)
{
digitalWrite(column[i], 0);
}
//turning on layers
for(int i = 0; i<4; i++)
{
digitalWrite(layer[i], 1);
}
}
///////////////////////////////////////////////////////turn columns off
void turnColumnsOff()
{
for(int i = 0; i<16; i++)
{
digitalWrite(column[i], 1);
}
}
/////////////////////////////////////////////////////////////flicker on
void flickerOn()
{
int i = 150;
while(i != 0)
{
turnEverythingOn();
delay(i);
turnEverythingOff();
delay(i);
i-= 5;
}
}
//////////////turn everything on and off by layer up and down NOT TIMED
void turnOnAndOffAllByLayerUpAndDownNotTimed()
{
int x = 75;
for(int i = 5; i != 0; i--)
{
turnEverythingOn();
for(int i = 4; i!=0; i--)
{
digitalWrite(layer[i-1], 0);
delay(x);
}
for(int i = 0; i<4; i++)
{
digitalWrite(layer[i], 1);
delay(x);
}
for(int i = 0; i<4; i++)
{
digitalWrite(layer[i], 0);
delay(x);
}
for(int i = 4; i!=0; i--)
{
digitalWrite(layer[i-1], 1);
delay(x);
}
}
}
//////////////////////////turn everything on and off by column sideways
void turnOnAndOffAllByColumnSideways()
{
int x = 75;
turnEverythingOff();
//turn on layers
for(int i = 0; i<4; i++)
{
digitalWrite(layer[i], 1);
}
for(int y = 0; y<3; y++)
{
//turn on 0-3
for(int i = 0; i<4; i++)
{
digitalWrite(column[i], 0);
delay(x);
}
//turn on 4-7
for(int i = 4; i<8; i++)
{
digitalWrite(column[i], 0);
delay(x);
}
//turn on 8-11
for(int i = 8; i<12; i++)
{
digitalWrite(column[i], 0);
delay(x);
}
//turn on 12-15
for(int i = 12; i<16; i++)
{
digitalWrite(column[i], 0);
delay(x);
}
//turn off 0-3
for(int i = 0; i<4; i++)
{
digitalWrite(column[i], 1);
delay(x);
}
//turn off 4-7
for(int i = 4; i<8; i++)
{
digitalWrite(column[i], 1);
delay(x);
}
//turn off 8-11
for(int i = 8; i<12; i++)
{
digitalWrite(column[i], 1);
delay(x);
}
//turn off 12-15
for(int i = 12; i<16; i++)
{
digitalWrite(column[i], 1);
delay(x);
}
//turn on 12-15
for(int i = 12; i<16; i++)
{
digitalWrite(column[i], 0);
delay(x);
}
//turn on 8-11
for(int i = 8; i<12; i++)
{
digitalWrite(column[i], 0);
delay(x);
}
//turn on 4-7
for(int i = 4; i<8; i++)
{
digitalWrite(column[i], 0);
delay(x);
}
//turn on 0-3
for(int i = 0; i<4; i++)
{
digitalWrite(column[i], 0);
delay(x);
}
//turn off 12-15
for(int i = 12; i<16; i++)
{
digitalWrite(column[i], 1);
delay(x);
}
//turn off 8-11
for(int i = 8; i<12; i++)
{
digitalWrite(column[i], 1);
delay(x);
}
//turn off 4-7
for(int i = 4; i<8; i++)
{
digitalWrite(column[i], 1);
delay(x);
}
//turn off 0-3
for(int i = 0; i<4; i++)
{
digitalWrite(column[i], 1);
delay(x);
}
}
}
/////////////////////////////////////////up and down single layer stomp
void layerstompUpAndDown()
{
int x = 75;
for(int i = 0; i<4; i++)
{
digitalWrite(layer[i], 0);
}
for(int y = 0; y<5; y++)
{
for(int count = 0; count<1; count++)
{
for(int i = 0; i<4; i++)
{
digitalWrite(layer[i], 1);
delay(x);
digitalWrite(layer[i], 0);
}
for(int i = 4; i !=0; i--)
{
digitalWrite(layer[i-1], 1);
delay(x);
digitalWrite(layer[i-1], 0);
}
}
for(int i = 0; i<4; i++)
{
digitalWrite(layer[i], 1);
delay(x);
}
for(int i = 4; i!=0; i--)
{
digitalWrite(layer[i-1], 0);
delay(x);
}
}
}
////////////////////////////////////////////////////////////flicker off
void flickerOff()
{
turnEverythingOn();
for(int i = 0; i!= 150; i+=5)
{
turnEverythingOff();
delay(i+50);
turnEverythingOn();
delay(i);
}
}
///////////////////////////////////////////around edge of the cube down
void aroundEdgeDown()
{
for(int x = 200; x != 0; x -=50)
{
turnEverythingOff();
for(int i = 4; i != 0; i--)
{
digitalWrite(layer[i-1], 1);
digitalWrite(column[5], 0);
digitalWrite(column[6], 0);
digitalWrite(column[9], 0);
digitalWrite(column[10], 0);
digitalWrite(column[0], 0);
delay(x);
digitalWrite(column[0], 1);
digitalWrite(column[4], 0);
delay(x);
digitalWrite(column[4], 1);
digitalWrite(column[8], 0);
delay(x);
digitalWrite(column[8], 1);
digitalWrite(column[12], 0);
delay(x);
digitalWrite(column[12], 1);
digitalWrite(column[13], 0);
delay(x);
digitalWrite(column[13], 1);
digitalWrite(column[15], 0);
delay(x);
digitalWrite(column[15], 1);
digitalWrite(column[14], 0);
delay(x);
digitalWrite(column[14], 1);
digitalWrite(column[11], 0);
delay(x);
digitalWrite(column[11], 1);
digitalWrite(column[7], 0);
delay(x);
digitalWrite(column[7], 1);
digitalWrite(column[3], 0);
delay(x);
digitalWrite(column[3], 1);
digitalWrite(column[2], 0);
delay(x);
digitalWrite(column[2], 1);
digitalWrite(column[1], 0);
delay(x);
digitalWrite(column[1], 1);
}
}
}
/////////////////////////////////////////////////////////random flicker
void randomflicker()
{
turnEverythingOff();
int x = 10;
for(int i = 0; i !=750; i+=2)
{
int randomLayer = random(0,4);
int randomColumn = random(0,16);
digitalWrite(layer[randomLayer], 1);
digitalWrite(column[randomColumn], 0);
delay(x);
digitalWrite(layer[randomLayer], 0);
digitalWrite(column[randomColumn], 1);
delay(x);
}
}
////////////////////////////////////////////////////////////random rain
void randomRain()
{
turnEverythingOff();
int x = 100;
for(int i = 0; i!=60; i+=2)
{
int randomColumn = random(0,16);
digitalWrite(column[randomColumn], 0);
digitalWrite(layer[0], 1);
delay(x+50);
digitalWrite(layer[0], 0);
digitalWrite(layer[1], 1);
delay(x);
digitalWrite(layer[1], 0);
digitalWrite(layer[2], 1);
delay(x);
digitalWrite(layer[2], 0);
digitalWrite(layer[3], 1);
delay(x+50);
digitalWrite(layer[3], 0);
digitalWrite(column[randomColumn], 1);
}
}
/////////////////////////////////////////////////////diagonal rectangle
void diagonalRectangle()
{
int x = 350;
turnEverythingOff();
for(int count = 0; count<5; count++)
{
//top left
for(int i = 0; i<8; i++)
{
digitalWrite(column[i], 0);
}
digitalWrite(layer[3], 1);
digitalWrite(layer[2], 1);
delay(x);
turnEverythingOff();
//middle middle
for(int i = 4; i<12; i++)
{
digitalWrite(column[i], 0);
}
digitalWrite(layer[1], 1);
digitalWrite(layer[2], 1);
delay(x);
turnEverythingOff();
//bottom right
for(int i = 8; i<16; i++)
{
digitalWrite(column[i], 0);
}
digitalWrite(layer[0], 1);
digitalWrite(layer[1], 1);
delay(x);
turnEverythingOff();
//bottom middle
for(int i = 4; i<12; i++)
{
digitalWrite(column[i], 0);
}
digitalWrite(layer[0], 1);
digitalWrite(layer[1], 1);
delay(x);
turnEverythingOff();
//bottom left
for(int i = 0; i<8; i++)
{
digitalWrite(column[i], 0);
}
digitalWrite(layer[0], 1);
digitalWrite(layer[1], 1);
delay(x);
turnEverythingOff();
//middle middle
for(int i = 4; i<12; i++)
{
digitalWrite(column[i], 0);
}
digitalWrite(layer[1], 1);
digitalWrite(layer[2], 1);
delay(x);
turnEverythingOff();
//top right
for(int i = 8; i<16; i++)
{
digitalWrite(column[i], 0);
}
digitalWrite(layer[2], 1);
digitalWrite(layer[3], 1);
delay(x);
turnEverythingOff();
//top middle
for(int i = 4; i<12; i++)
{
digitalWrite(column[i], 0);
}
digitalWrite(layer[2], 1);
digitalWrite(layer[3], 1);
delay(x);
turnEverythingOff();
}
//top left
for(int i = 0; i<8; i++)
{
digitalWrite(column[i], 0);
}
digitalWrite(layer[3], 1);
digitalWrite(layer[2], 1);
delay(x);
turnEverythingOff();
}
//////////////////////////////////////////////////////////////propeller
void propeller()
{
turnEverythingOff();
int x = 90;
for(int y = 4; y>0; y--)
{
for(int i = 0; i<6; i++)
{
//turn on layer
digitalWrite(layer[y-1], 1);
//a1
turnColumnsOff();
digitalWrite(column[0], 0);
digitalWrite(column[5], 0);
digitalWrite(column[10], 0);
digitalWrite(column[15], 0);
delay(x);
//b1
turnColumnsOff();
digitalWrite(column[4], 0);
digitalWrite(column[5], 0);
digitalWrite(column[10], 0);
digitalWrite(column[11], 0);
delay(x);
//c1
turnColumnsOff();
digitalWrite(column[6], 0);
digitalWrite(column[7], 0);
digitalWrite(column[8], 0);
digitalWrite(column[9], 0);
delay(x);
//d1
turnColumnsOff();
digitalWrite(column[3], 0);
digitalWrite(column[6], 0);
digitalWrite(column[9], 0);
digitalWrite(column[12], 0);
delay(x);
//d2
turnColumnsOff();
digitalWrite(column[2], 0);
digitalWrite(column[6], 0);
digitalWrite(column[9], 0);
digitalWrite(column[13], 0);
delay(x);
//d3
turnColumnsOff();
digitalWrite(column[1], 0);
digitalWrite(column[5], 0);
digitalWrite(column[10], 0);
digitalWrite(column[14], 0);
delay(x);
}
}
//d4
turnColumnsOff();
digitalWrite(column[0], 0);
digitalWrite(column[5], 0);
digitalWrite(column[10], 0);
digitalWrite(column[15], 0);
delay(x);
}
//////////////////////////////////////////////////////spiral in and out
void spiralInAndOut()
{
turnEverythingOn();
int x = 60;
for(int i = 0; i<6; i++)
{
//spiral in clockwise
digitalWrite(column[0], 1);
delay(x);
digitalWrite(column[1], 1);
delay(x);
digitalWrite(column[2], 1);
delay(x);
digitalWrite(column[3], 1);
delay(x);
digitalWrite(column[7], 1);
delay(x);
digitalWrite(column[11], 1);
delay(x);
digitalWrite(column[15], 1);
delay(x);
digitalWrite(column[14], 1);
delay(x);
digitalWrite(column[13], 1);
delay(x);
digitalWrite(column[12], 1);
delay(x);
digitalWrite(column[8], 1);
delay(x);
digitalWrite(column[4], 1);
delay(x);
digitalWrite(column[5], 1);
delay(x);
digitalWrite(column[6], 1);
delay(x);
digitalWrite(column[10], 1);
delay(x);
digitalWrite(column[9], 1);
delay(x);
///////////////////////////////////////spiral out counter clockwise
digitalWrite(column[9], 0);
delay(x);
digitalWrite(column[10], 0);
delay(x);
digitalWrite(column[6], 0);
delay(x);
digitalWrite(column[5], 0);
delay(x);
digitalWrite(column[4], 0);
delay(x);
digitalWrite(column[8], 0);
delay(x);
digitalWrite(column[12], 0);
delay(x);
digitalWrite(column[13], 0);
delay(x);
digitalWrite(column[14], 0);
delay(x);
digitalWrite(column[15], 0);
delay(x);
digitalWrite(column[11], 0);
delay(x);
digitalWrite(column[7], 0);
delay(x);
digitalWrite(column[3], 0);
delay(x);
digitalWrite(column[2], 0);
delay(x);
digitalWrite(column[1], 0);
delay(x);
digitalWrite(column[0], 0);
delay(x);
///////////////////////////////////////spiral in counter clock wise
digitalWrite(column[0], 1);
delay(x);
digitalWrite(column[4], 1);
delay(x);
digitalWrite(column[8], 1);
delay(x);
digitalWrite(column[12], 1);
delay(x);
digitalWrite(column[13], 1);
delay(x);
digitalWrite(column[14], 1);
delay(x);
digitalWrite(column[15], 1);
delay(x);
digitalWrite(column[11], 1);
delay(x);
digitalWrite(column[7], 1);
delay(x);
digitalWrite(column[3], 1);
delay(x);
digitalWrite(column[2], 1);
delay(x);
digitalWrite(column[1], 1);
delay(x);
digitalWrite(column[5], 1);
delay(x);
digitalWrite(column[9], 1);
delay(x);
digitalWrite(column[10], 1);
delay(x);
digitalWrite(column[6], 1);
delay(x);
//////////////////////////////////////////////spiral out clock wise
digitalWrite(column[6], 0);
delay(x);
digitalWrite(column[10], 0);
delay(x);
digitalWrite(column[9], 0);
delay(x);
digitalWrite(column[5], 0);
delay(x);
digitalWrite(column[1], 0);
delay(x);
digitalWrite(column[2], 0);
delay(x);
digitalWrite(column[3], 0);
delay(x);
digitalWrite(column[7], 0);
delay(x);
digitalWrite(column[11], 0);
delay(x);
digitalWrite(column[15], 0);
delay(x);
digitalWrite(column[14], 0);
delay(x);
digitalWrite(column[13], 0);
delay(x);
digitalWrite(column[12], 0);
delay(x);
digitalWrite(column[8], 0);
delay(x);
digitalWrite(column[4], 0);
delay(x);
digitalWrite(column[0], 0);
delay(x);
}
}
//////////////////////////////////////go through all leds one at a time
void goThroughAllLedsOneAtATime()
{
int x = 15;
turnEverythingOff();
for(int y = 0; y<5; y++)
{
//0-3
for(int count = 4; count != 0; count--)
{
digitalWrite(layer[count-1], 1);
for(int i = 0; i<4; i++)
{
digitalWrite(column[i], 0);
delay(x);
digitalWrite(column[i], 1);
delay(x);
}
digitalWrite(layer[count-1], 0);
}
//4-7
for(int count = 0; count < 4; count++)
{
digitalWrite(layer[count], 1);
for(int i = 4; i<8; i++)
{
digitalWrite(column[i], 0);
delay(x);
digitalWrite(column[i], 1);
delay(x);
}
digitalWrite(layer[count], 0);
}
//8-11
for(int count = 4; count != 0; count--)
{
digitalWrite(layer[count-1], 1);
for(int i = 8; i<12; i++)
{
digitalWrite(column[i], 0);
delay(x);
digitalWrite(column[i], 1);
delay(x);
}
digitalWrite(layer[count-1], 0);
}
//12-15
for(int count = 0; count < 4; count++)
{
digitalWrite(layer[count], 1);
for(int i = 12; i<16; i++)
{
digitalWrite(column[i], 0);
delay(x);
digitalWrite(column[i], 1);
delay(x);
}
digitalWrite(layer[count], 0);
}
}
}